When tackling tile installation, it’s easy to overlook critical details that can lead to costly mistakes. You might think you’re prepared, but neglecting surface prep or using the wrong adhesive can ruin your project. Poor layout planning and improper tile spacing can also compromise the overall look. Let’s explore these common pitfalls and discover effective strategies to ensure your tile installation goes smoothly and looks professional.
Neglecting Surface Preparation
When you skip proper surface preparation, you set yourself up for a host of problems down the line. A clean, smooth surface is crucial for tile adhesion and longevity.
If you don’t remove old adhesives, dirt, or moisture, your tiles may not stick properly. This can lead to cracking, lifting, or even complete failure of the installation.
You’ll want to fill in any cracks or holes to create a level surface, ensuring your tiles sit evenly. If your surface isn’t prepared right, you might end up wasting time and money on repairs.
Always assess the substrate before you begin; taking the time to prep properly now saves you headaches later. Don’t underestimate the importance of a solid foundation for your tile project!
Using the Wrong Adhesive
Choosing the right adhesive is vital for a successful tile installation. Using the wrong type can lead to disastrous results, like tiles popping off or cracking.
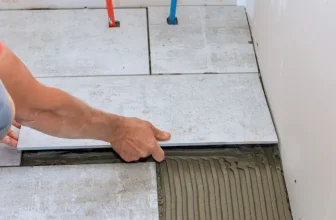
You need to consider the surface material, the tile type, and the environment where you’re installing. For instance, if you’re working with porcelain tiles, a thin-set mortar designed for that specific material is essential.
If you’re tiling in a wet area, like a bathroom, opt for a moisture-resistant adhesive. Always check the manufacturer’s recommendations to ensure compatibility.
Poor Layout Planning
A well-planned layout is crucial for a successful tile installation, and neglecting this step can lead to uneven tiles and wasted materials.
Before you start, take the time to measure your space accurately. Knowing the dimensions helps you determine how many tiles you’ll need and where to place them.
Consider starting from a central point or a straight edge to create a balanced look. Use chalk lines to mark your layout clearly. This way, you’ll avoid awkward cuts at the edges and ensure a more professional finish.
Skipping the Tile Spacing
While it might seem tempting to skip tile spacing for a quicker installation, doing so can lead to uneven grout lines and an unprofessional appearance. Proper spacing is crucial for several reasons.
First, it allows for grout that can expand and contract, accommodating any shifts in the tiles. Second, consistent spacing creates a visually appealing layout that enhances the overall design.
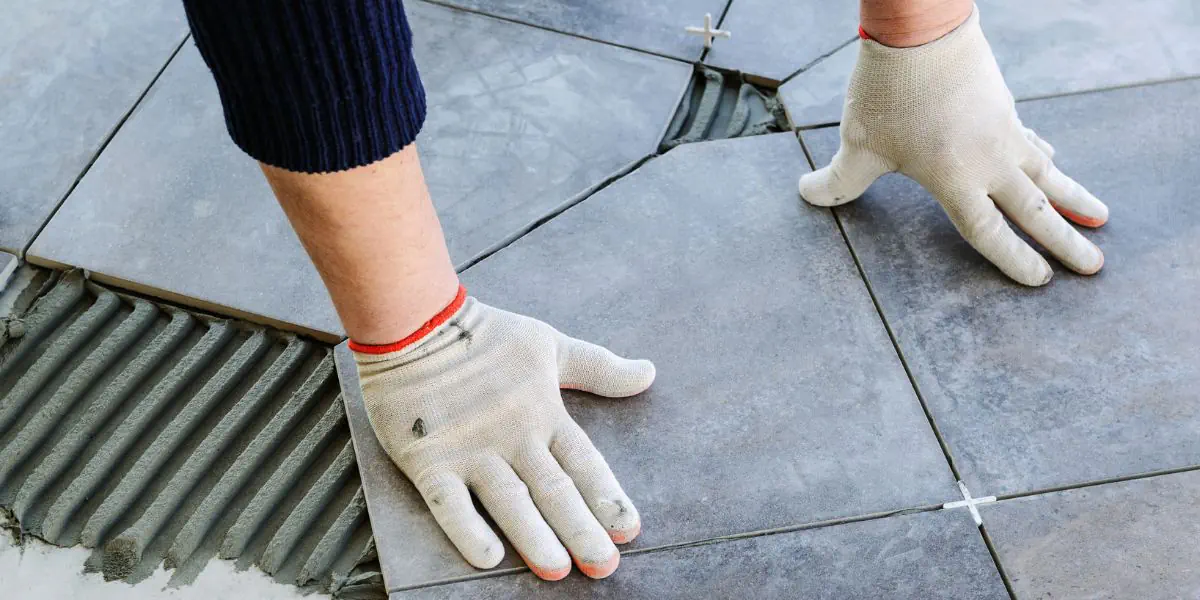
To ensure you get it right, use tile spacers as guides between each tile. These spacers help maintain uniform gaps, making the installation process smoother.
Incorrect Cutting Techniques
Skipping proper tile spacing can lead to other installation issues, including problems with tile cutting. If you don’t measure accurately, you might end up with uneven edges or gaps.
Always use a straight edge and a reliable tile cutter. Relying on hand tools like a snap cutter can result in chipping; a wet saw is often a better choice for clean cuts. Ensure your blade is sharp and suitable for your tile type.
When cutting intricate shapes, take your time and mark your lines clearly. Rushing through cuts can lead to wasted tiles and frustration.
Ignoring Expansion Joints
Ignoring expansion joints can lead to significant problems in your tile installation, especially as temperature fluctuations cause materials to expand and contract.
Without proper expansion joints, your tiles may crack or buckle, compromising the overall integrity of your floor or wall. To avoid this mistake, plan for expansion joints in your layout.
Place them every 8 to 12 feet in large areas and along walls or fixtures. Use flexible materials like caulk or foam to ensure the joints can absorb movement effectively.
It’s also important to follow manufacturer guidelines on spacing and placement. By prioritizing expansion joints, you’ll maintain a durable, visually appealing installation that stands the test of time.
Don’t overlook this critical step in your tiling project!
Misaligning Tiles
Misaligning tiles can ruin the aesthetic and structural integrity of your installation. When you don’t pay attention to alignment, you risk creating uneven seams and awkward gaps. This not only looks unprofessional but can also lead to future problems, like cracking.
To avoid misalignment, start by using a chalk line to mark your layout on the surface. Dry-lay a few tiles first to visualize how they’ll fit together. As you install, consistently check that each tile is level and aligned with its neighbors. Don’t forget to use spacers for uniform grout lines.
If you notice a misaligned tile, adjust it immediately before the adhesive sets. Taking these steps ensures a beautiful, long-lasting finish for your tiled surface.
Failing to Seal Grout
Once you’ve ensured that your tiles are perfectly aligned, don’t overlook the importance of sealing the grout.
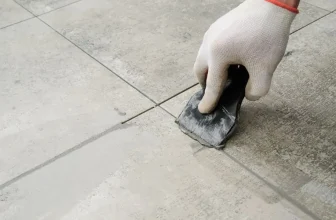
Grout is porous, which means it can absorb moisture and stains, leading to mold growth and discoloration. If you skip sealing, you’re inviting trouble into your beautifully tiled space.
To prevent this, always apply a high-quality grout sealer soon after installation.
Wait for the grout to cure fully, typically 48 to 72 hours, before sealing. Use a paintbrush or applicator to ensure even coverage.
Remember to reapply the sealer every year or as needed, depending on the grout type.
Overlooking Drainage Issues
While you might be focused on achieving a flawless tile layout, neglecting drainage issues can lead to serious problems down the line. Proper drainage is crucial for preventing water from pooling under your tiles, which can cause mold, mildew, and even structural damage.
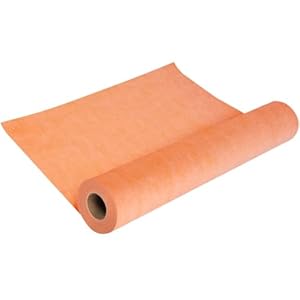
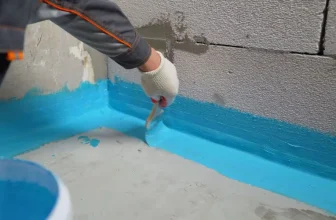
Make sure to assess the slope of your floor before starting. Ideally, it should direct water toward drains or out of the area. Additionally, use appropriate materials, like waterproof membranes, to safeguard against moisture infiltration.
Don’t forget to check existing drainage systems to ensure they’re functioning correctly. Taking these steps will help you avoid costly repairs and create a long-lasting, beautiful tile installation.
Rushing the Curing Process
Although it’s tempting to rush the installation process, hurrying the curing of your tile can lead to disastrous results. When you don’t allow adequate time for the adhesive to set, your tiles may become loose or even crack. This can result in costly repairs and a significant waste of time and materials.
To avoid this mistake, always follow the manufacturer’s recommendations for curing times. Typically, this means waiting at least 24 to 48 hours before grouting or walking on your new tiles.
Make sure you also maintain optimal temperature and humidity levels during this period. Remember, patience is key. Taking the time to let your tile cure properly ensures a durable, long-lasting finish that you’ll be proud of.
Conclusion
Avoiding these common tile installation mistakes can save you time, money, and frustration. By prioritizing surface preparation, choosing the right adhesive, and planning your layout carefully, you’ll set yourself up for success. Don’t forget to maintain proper tile spacing, cut accurately, and ensure everything’s aligned. Sealing grout and addressing drainage issues will enhance durability, while giving the curing process the time it needs will lead to a flawless finish. With these tips, your tile project will turn out beautifully!
Trending Products