When it comes to tile installation, having the right tools can make all the difference in your project’s success. You need a solid tile cutter for precise cuts and measuring tools to ensure everything’s laid out correctly. Don’t forget the importance of safety gear to keep yourself protected. As you prepare to gather these essentials, consider what might be missing from your toolkit and how it could impact your work.
Tile Cutter
When you’re tackling a tile installation project, having the right tools is crucial, and a tile cutter tops the list. A tile cutter allows you to make clean, precise cuts, ensuring your tiles fit perfectly.
Whether you’re working with ceramic, porcelain, or glass, investing in a quality cutter saves you time and effort. Manual cutters are great for straightforward jobs, while electric cutters offer added convenience for tougher materials.
When using a tile cutter, make sure to measure carefully and score the tile evenly. Practice your technique on scrap pieces to gain confidence.
With the right cutter in hand, you’ll streamline your installation process and achieve professional-looking results, turning your vision into reality.
Measuring Tools
After ensuring you’ve got the right tile cutter, the next step is to equip yourself with accurate measuring tools. A reliable tape measure is essential for measuring spaces and ensuring tiles fit perfectly.
Opt for a 25-foot tape with clear markings for easy reading. You’ll also want a square, which helps you mark straight lines and check corners for squareness. A level is another must-have; it ensures your tiles are laid evenly, preventing future issues.
Don’t forget a measuring wheel if you’re working on larger areas. Lastly, consider a laser distance measurer for quick and precise measurements, especially in tight spots.
With these tools, you’ll lay your tiles with confidence and precision.
Leveling System
To achieve a flawless tile installation, incorporating a leveling system is crucial. These systems help eliminate lippage, ensuring your tiles sit evenly and securely.
You’ll find various types available, from clip-and-wedge systems to more advanced options like self-leveling spacers.
When using a leveling system, place the spacers between your tiles as you lay them. As you install, insert the clips and wedges to achieve the desired height.
This process not only saves you time but also enhances the overall appearance of your work.
Trowels
A leveling system lays the groundwork for a smooth tile installation, but it’s the right trowel that ensures you apply the adhesive correctly.
Choosing a trowel with the right notch size is crucial; it helps control the amount of adhesive you spread. For smaller tiles, a 1/4″ square notch trowel usually works best, while larger tiles may require a 1/2″ notch.
Make sure the trowel feels comfortable in your hand, as you’ll be using it extensively. A stainless steel trowel is often preferred for its durability and ease of cleaning.
Regularly inspect your trowel for wear or damage; a worn trowel can lead to uneven adhesive application, compromising your installation.
Don’t underestimate this essential tool!
Grout Float
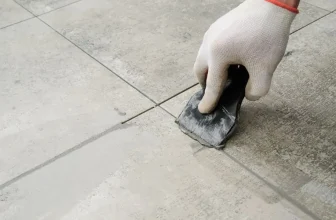
The grout float is an indispensable tool for achieving a professional finish in your tile installation. This simple yet effective tool helps you apply grout evenly, ensuring that every joint is filled properly.
With its rectangular shape and rubber surface, it allows you to spread the grout smoothly over the tiles, pushing it into the gaps.
When using a grout float, hold it at a 45-degree angle to the tile surface. This technique helps you avoid excess grout build-up while ensuring proper coverage.
After applying the grout, you can use the float to clean excess from the tile surface, making the cleanup process easier.
Investing in a good-quality grout float will elevate your tile work and enhance the overall appearance of your project.
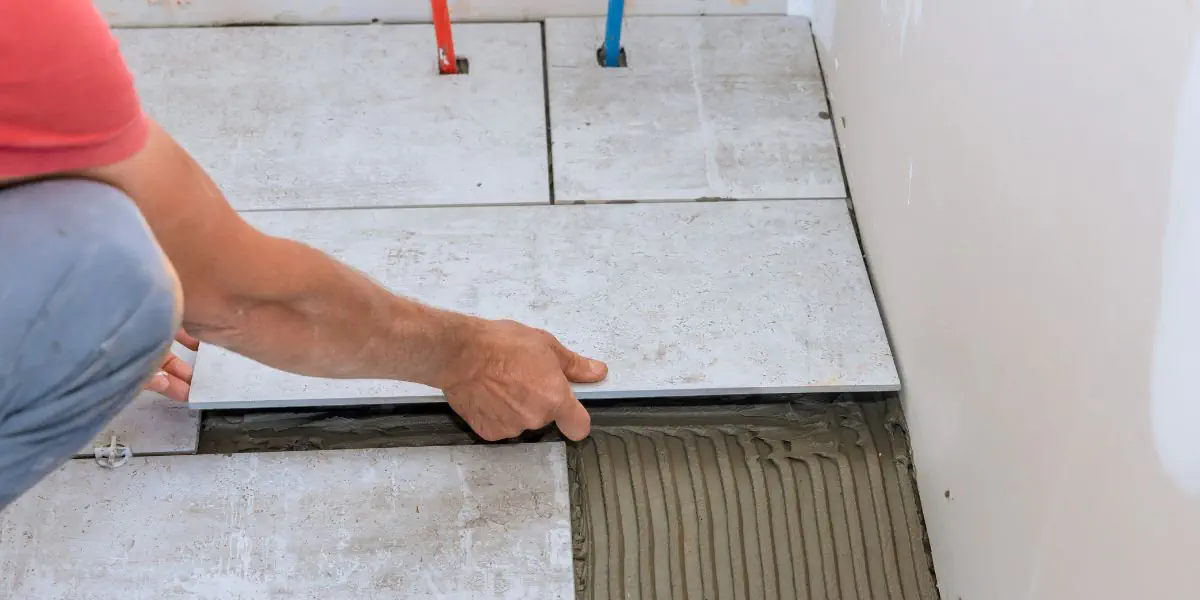
Spacers
While you might be tempted to skip them, spacers are crucial for achieving consistent grout lines and a professional-looking tile installation.
These small, often overlooked tools help maintain uniform gaps between tiles, ensuring that your finished project looks neat and polished. Without spacers, you risk uneven grout lines, which can detract from the overall aesthetic of your work.
When selecting spacers, consider the size of the grout line you want; they come in various thicknesses to accommodate different designs.
As you lay tiles, insert the spacers at each corner, checking frequently to ensure everything remains aligned.
Once the adhesive sets, you can easily remove them, leaving behind perfectly spaced tiles that enhance the beauty of your installation.
Chalk Line
Precision is key in tile installation, and using a chalk line can make all the difference. This simple tool helps you create straight, accurate layout lines on your surface, ensuring your tiles are placed perfectly.
To use it, simply stretch the chalk line between two points, pull it taut, and snap it to leave a crisp line. This line acts as your guide, allowing you to align your tiles with confidence. You’ll save time and minimize errors by having a clear reference point.
Plus, chalk lines are easy to set up and remove, making them a must-have for any tile installer. Don’t underestimate the value of this tool; it can elevate the quality of your work significantly.
Wet Saw
A wet saw is an essential tool for tile installers, ensuring clean and accurate cuts for various tile materials. With its diamond blade and water cooling system, it minimizes dust while preventing overheating, allowing you to work efficiently.
When you need to cut ceramic, porcelain, or stone tiles, a wet saw delivers precision that hand tools can’t match.
Using a wet saw might seem intimidating at first, but once you get the hang of it, you’ll appreciate its ease of use. Set your tile on the sliding table, adjust the cutting depth, and let the saw do the work.
Investing in a quality wet saw will save you time and effort, leaving you with professional results every time.
Safety Gear
Using a wet saw can create some hazardous conditions, making safety gear a must for tile installers.
First and foremost, invest in a good pair of safety goggles to protect your eyes from flying debris. A dust mask is essential too, as tile dust can be harmful when inhaled.
Don’t forget sturdy gloves; they’ll keep your hands safe from sharp edges and rough surfaces. Steel-toed boots are another crucial piece of gear, providing protection against heavy materials.
Lastly, consider knee pads if you’ll be working on your knees for extended periods.
Wearing the right safety gear not only safeguards you from injuries but also boosts your confidence, allowing you to focus on delivering high-quality work.
Prioritize your safety every time you install tiles.
Mixing Bucket
The mixing bucket is an essential tool for tile installers, playing a crucial role in preparing materials like thin-set or grout.
You’ll want a sturdy, large-capacity bucket that can handle heavy mixes without cracking or warping. Look for one with clear measurement markings—this makes it easier to gauge how much material you need.
Using a mixer attachment or a mixing paddle can save you time and energy, ensuring a consistent blend. Always rinse your bucket after use to prevent hardening materials from sticking.
If you’re working on multiple projects, consider having a couple of buckets on hand, so you can switch between mixes without delay.
A reliable mixing bucket will enhance your efficiency and help you achieve better results.
Conclusion
In conclusion, having the right tools is key to your success as a tile installer. With a quality tile cutter, measuring tools, and safety gear, you’re well on your way to achieving professional results. Don’t forget the importance of trowels and a wet saw for precise cuts and adhesive application. By equipping yourself with these essentials, you’ll not only work more efficiently but also ensure a polished finish on every project. Happy tiling!
Trending Products