When it comes to tile installation, your success hinges on preparation and technique. You’ll want to clear the area and ensure your surface is clean and level before you even think about laying down tiles. Choosing the right materials is equally crucial, as they can make or break your project. With the right approach, you can achieve a flawless finish that looks professional. Let’s explore the steps to elevate your tile game.
Preparing Your Space for Tile Installation
Preparing your space for tile installation is crucial for a successful project. Start by clearing the area of all furniture, appliances, and any obstacles that might hinder your work.
Next, ensure the surface is clean, dry, and level. If you’re working on a floor, check for any stains, debris, or old adhesive that could interfere with the new tiles. You might need to fill in cracks or imperfections with a suitable compound.
Additionally, make sure the room’s temperature is stable, as extreme conditions can affect tile adhesive.
Finally, gather all your tools and materials in one place, so you won’t waste time searching for them later. A well-prepped space sets the foundation for a smooth installation process.
Choosing the Right Materials
When it comes to tile installation, selecting the right materials can make all the difference in the final outcome.
Start by choosing the right type of tile for your project. Consider ceramic, porcelain, or natural stone based on durability, water resistance, and aesthetics.
Next, pick a suitable adhesive; thin-set mortar works well for most tiles, but make sure it’s compatible with your chosen material.
Don’t forget about grout—select a type that matches your tile’s color and intended use. For wet areas, choose a mold-resistant option.
Finally, invest in quality tools, like a tile cutter or trowel, to ensure precise cuts and application.
Mastering the Installation Process
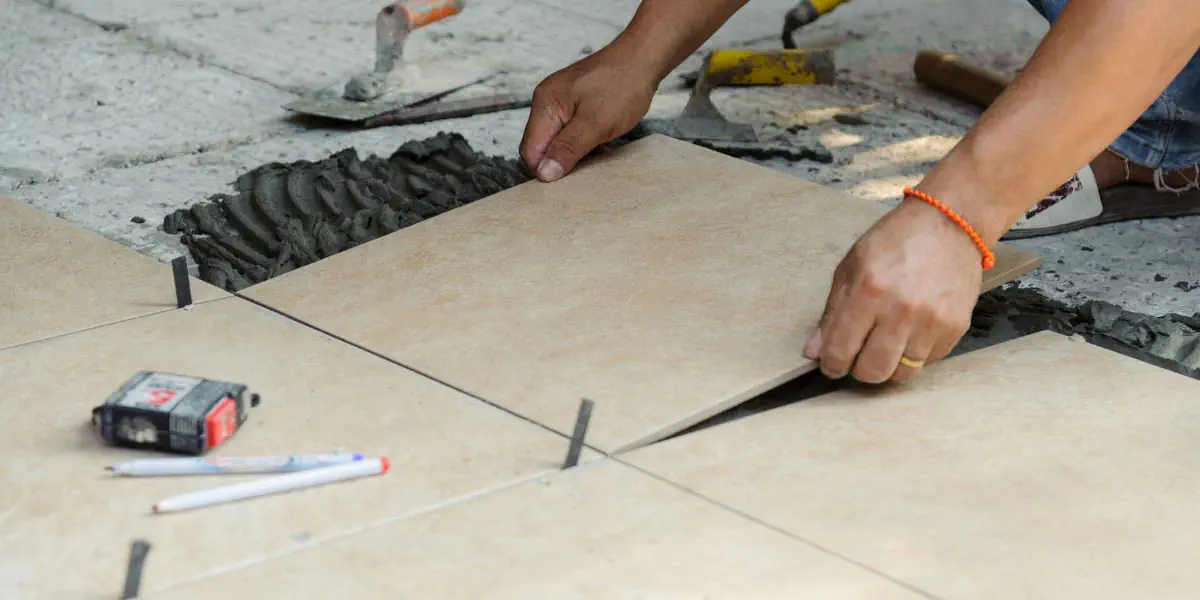
To ensure your tile installation goes smoothly, start by carefully planning your layout. Measure your space accurately and mark reference lines on the floor or wall. This helps you maintain alignment and symmetry throughout the installation.
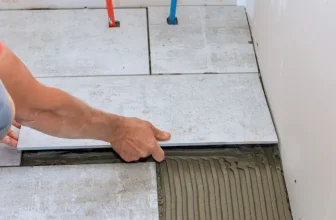
Next, gather all necessary tools and materials within easy reach to streamline your process. When applying thin-set mortar, use a notched trowel for even coverage.
Lay your tiles from the center outwards, pressing each tile firmly into the mortar. Don’t forget to use spacers to create consistent joints.
As you work, constantly check for level and adjust as needed. Lastly, be patient—taking your time now will pay off with a professional-looking finish when you’re done.
Finishing Touches for a Professional Look
While you might think the hard work is done after laying the tiles, the finishing touches are what truly elevate your project to a professional level.
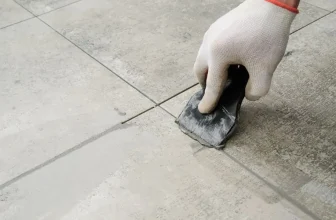
Start by applying grout carefully, ensuring it fills all gaps evenly. Use a grout float to smooth it out, and don’t forget to wipe off excess with a damp sponge.
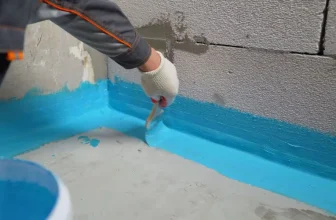
Next, seal the grout once it’s fully cured to protect against moisture and stains.
Caulking around edges and corners gives a clean, polished look, so choose a color that complements your tiles.
Finally, step back and inspect your work, making any necessary adjustments. A little attention to detail now will make your tile installation look flawless and last for years to come.
Conclusion
By following these tips, you can achieve a tile installation that looks professional and stands the test of time. Remember to prepare your space thoroughly, choose quality materials, and take your time during the installation process. Don’t rush the finishing touches, as they make all the difference in the final appearance. With patience and attention to detail, you’ll be proud of your work and enjoy the beautiful results for years to come. Happy tiling!
Trending Products